
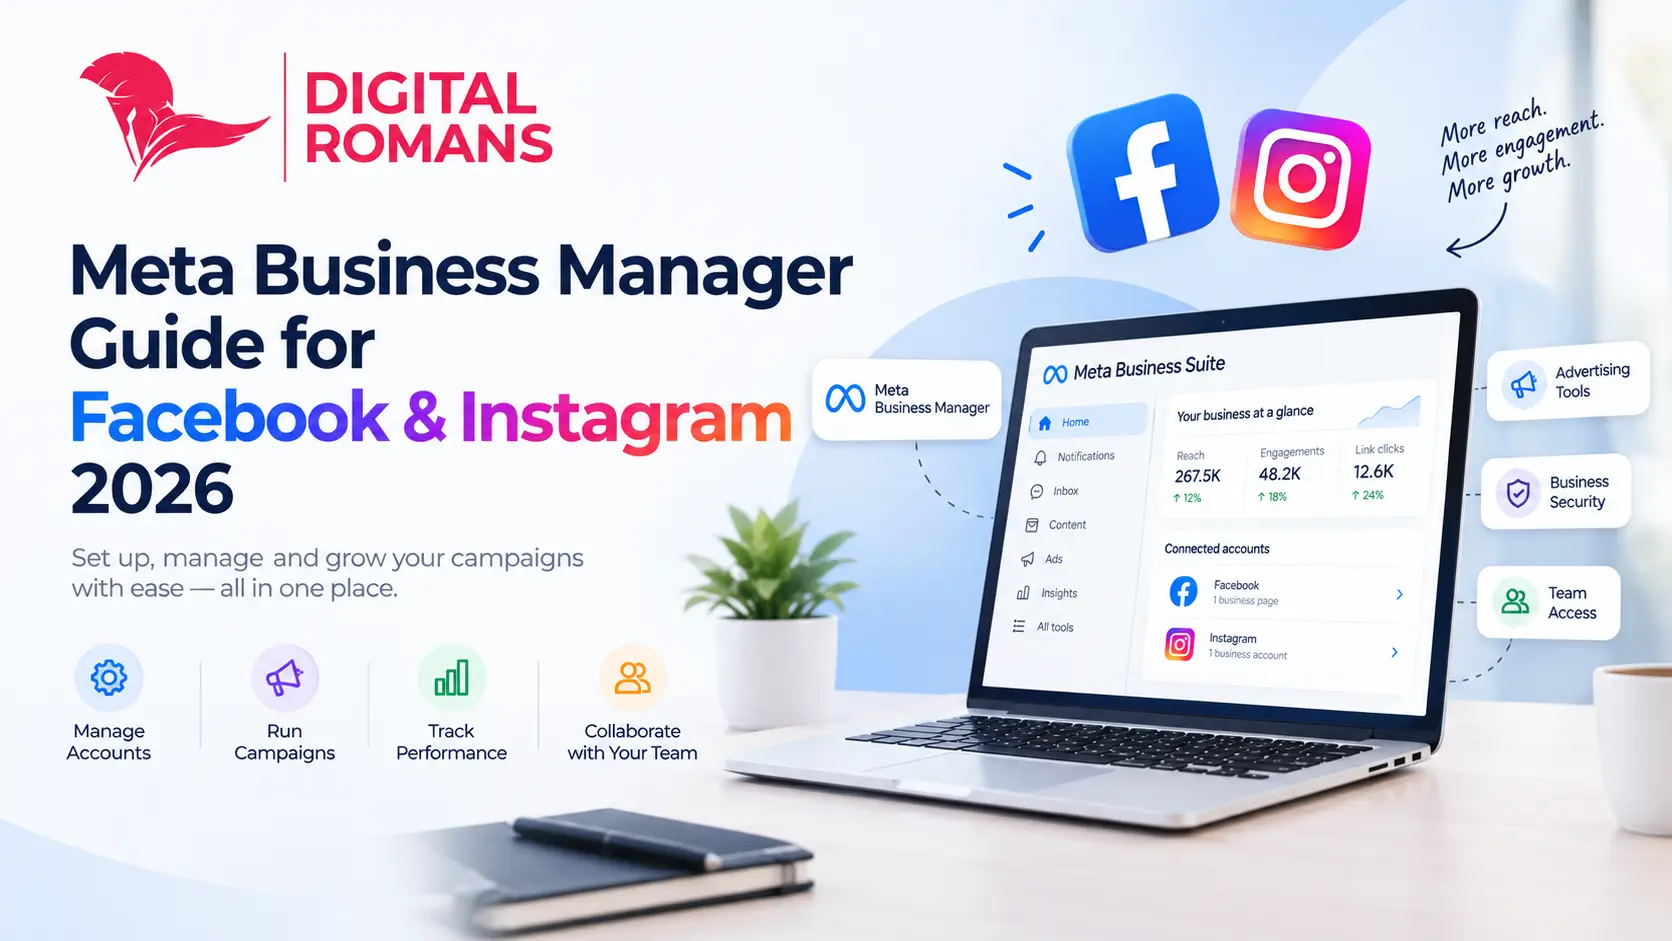
If you run ads or manage a Facebook/Instagram page for your business in India, you’ve probably come across the term Meta Business Manager. Many business owners either skip setting it up entirely or get stuck halfway through, ending up with ad accounts and pages scattered across personal profiles — a setup that gets messy fast and creates real security risks if an employee leaves or an account gets compromised.
This Meta Business Manager setup guide covers everything — what it actually is, how it’s different from Business Suite and Ads Manager, who genuinely needs it, real features and benefits, honest challenges you’ll run into, and how properly setting it up can actually help your business grow. At Digital Romans, we set up and manage these accounts for Indian businesses every week, and this guide reflects what we actually see in practice — the real questions clients ask, the mistakes that cost them time, and the details that generic global tutorials tend to skip entirely.
Table of Contents
ToggleWhat Is a Meta Business Manager?
Meta Business Manager, formerly known as Facebook Business Manager, is a free platform that lets you manage all your Facebook and Instagram business assets — Pages, ad accounts, team members, pixels, and product catalogs — from a single, centralized dashboard, separate from your personal Facebook profile.
Before it existed, businesses ran ads and managed pages directly from personal accounts. Giving an employee or agency access meant adding them as a personal “friend” or handing over your own login credentials outright. This platform fixed that by letting you grant controlled, revocable access to specific people for specific assets — without ever sharing passwords, and without your team seeing your personal profile, friends list, or private posts.
Meta describes it as a tool to help businesses “integrate marketing efforts across their business and with external partners” — and that integration piece is really the core value. It’s not just a login wrapper; it’s a genuine organizational layer that sits between your business and everything you do on Meta’s platforms. Think of it less as a single feature and more as an operating structure — the way a company registration or a bank account separates personal and business finances, this does the same for your digital marketing assets.
Note: Meta officially renamed this tool to Meta Business Portfolio in 2024, though most tutorials, support docs, and advertisers — including this guide — still refer to it by its older, far more widely searched name. If you log into business.facebook.com today, you may notice the interface itself already uses the newer term in places, even while the old name persists everywhere else.
Meta Business Manager vs. Meta Business Suite vs. Meta Ads Manager
This is the single most confusing part for most business owners, so let’s break it down properly.
- Meta Business Manager functions as the admin backend for your entire Meta presence — this is where you manage assets, billing, permissions, business verification, pixels, and product catalogs. It’s best suited for setting up your overall account structure and controlling who has access to what across your business.
- Meta Business Suite, on the other hand, is the day-to-day content tool — the place for scheduling posts, managing your inbox, and reviewing basic performance insights. It works well for simple businesses running a single page without a team to manage.
- Meta Ads Manager is the dedicated campaign tool, purpose-built for creating, launching, and optimizing paid advertising. This is where you actually run and track your advertising efforts once your account structure is in place.
Think of the first as the control room that governs access, the second as the content and inbox hub for daily posting, and the third as the advertising cockpit where campaigns actually get built. All three are connected and work together — you don’t pick one permanently, you move between them depending on the task at hand.
A small business posting occasionally with no team might genuinely be fine with just Business Suite — simpler interface, works for a single page and single ad account, no extra permission overhead. A home baker in Pune running one Instagram page and boosting the occasional post doesn’t need the full admin layer. But the moment you add a second person, spend seriously on ads, run multiple brands, or work with an agency, that structure becomes necessary.
One practical distinction worth remembering: Ads Manager can technically be accessed even without a complete setup for very basic personal boosts — the kind where you click “Boost Post” directly from your page. But any serious, ongoing advertising — especially with a team or agency involved, or where you’re testing multiple ad sets and tracking cost per result — should run through ad accounts housed inside the proper business structure, since that’s where permissions, billing oversight, and reporting consolidation actually live.
Is It Different From Your Personal Facebook or Instagram Account?
Yes, fundamentally — though the two are connected in one specific way worth understanding clearly.
Your personal Facebook account is for friends, personal posts, and your own newsfeed. This platform doesn’t have a newsfeed, doesn’t send personal notifications, and never displays your personal profile information to people you add to your team. Someone you invite sees only the specific Pages or assets you’ve assigned them — nothing about your personal life, friends list, or unrelated posts you’ve made.
That said, Meta still requires a personal Facebook profile to initially log in and verify your identity when creating an account — this exists specifically to prevent spam and fake businesses from flooding the advertising ecosystem. Meta wants confirmation that a real, verifiable human is behind every business presence on the platform.
Once set up, though, your business assets operate independently from that point forward. Your Instagram business account, once connected, is also managed from this same layer — distinct from logging into Instagram personally on your phone each morning. Team members can handle your Instagram presence, reply to DMs, and schedule Reels without ever needing your personal Instagram password, which is a meaningful security improvement over how most small Indian businesses used to operate just a few years ago — often with one shared phone login passed between whoever was “doing social media” that week.
It’s also worth noting: deactivating your personal profile after linking it as the primary admin login isn’t straightforward, and in most cases isn’t possible while it remains attached. If privacy separation is a major concern, using a dedicated account created solely for administration purposes — rather than your actual personal profile with years of photos and friends on it — is a reasonable workaround some business owners choose.
Meta Business Manager Setup: Step-by-Step Guide
Here’s the complete process for Indian businesses, start to finish.
Step 1: Login and Account Creation
Go to business.facebook.com and log in using your personal Facebook account (required for identity verification). Click Create Account, enter your business name, your name, and business email, then confirm via the verification email sent to that address.
Fill in your legal business name, address, phone number, and website — for Indian businesses, make sure this matches your GST certificate or registration documents exactly, since mismatches are the most common cause of verification delays. Even small differences, like “Pvt. Ltd.” versus “Private Limited,” can occasionally trigger a review.
Note: Only two such accounts are allowed per personal profile, so plan carefully rather than creating one impulsively and needing another later.
Step 2: Add or Create Your Facebook Page
Go to Business Settings → Accounts → Pages → Add. Add an existing page, create a new one, or — if managing a client’s page as an agency — use Request Access instead of adding it directly, which keeps ownership with your client while still giving you working access to run campaigns.
Step 3: Create a New Ad Account
Go to Business Settings → Accounts → Ad Accounts → Add → Create a new ad account. Name it clearly — something like “ClientName — Primary Ads” rather than a generic label you’ll forget the meaning of later — select your time zone (permanent once set, so double-check it against where your business actually operates), and choose INR unless you’re running international campaigns targeting other markets.
If you already have an account, link it instead using its Ad Account ID, found in the dropdown menu of your current Ads Manager.
Important: Once added, an account can’t be fully removed — only deactivated. Only add ones you genuinely own, and use Request Access for anything belonging to someone else.
Step 4: Add Your Payment Method
Add billing under Business Settings → Payments. Indian businesses typically use debit or credit cards. Make sure billing details match your registration if claiming GST input credit, since ad spend in India attracts GST at the applicable rate, and mismatched names between your card and business registration can complicate your accounting later.
Step 5: Add Team Members and Assign Roles
Go to Business Settings → Users → People → Add. Enter the person’s business email and select:
- Full control — reserve for owners or senior team members only
- Partial access — ideal for most employees, freelancers, or agency teams
- Advanced options — adds financial visibility on top of either of the above
Then assign which specific Pages, ad accounts, or other assets that person can work on — a content writer, for instance, probably needs Page access but no reason to see your ad account or billing details at all.
Step 6: Connect Instagram
Go to Business Settings → Accounts → Instagram Accounts → Add, then log in with your Instagram credentials. Once connected, your Instagram presence becomes manageable from the same dashboard as your Facebook assets.
Step 7: Set Up Your Pixel
Go to Business Settings → Data Sources → Pixels → Add. Name it, enter your website URL, and follow platform-specific installation steps — Shopify users can use the official Facebook & Instagram app for automatic integration, while custom-built websites typically need manual code installation or developer help via Google Tag Manager.
After installation, use Meta’s Pixel Helper browser extension to confirm it’s firing correctly — test a page view and an add-to-cart or form submission before trusting the data it collects.
Step 8: Build Your Product Catalog (E-commerce)
Go to Business Settings → Data Sources → Catalogs → Create Catalog, select “E-commerce,” then choose your upload method — direct Shopify integration, a manual CSV upload for smaller inventories, or API sync for large, frequently changing product ranges.
Step 9: Strengthen Security
Go to Security Center and enable two-factor authentication for everyone with access, and consider adding a backup admin specifically for account recovery purposes.
How Long Does Setup Actually Take?
Realistically, here’s an honest breakdown rather than a single vague estimate:
- Basic account creation: 10–15 minutes
- Adding your Page, ad account, and payment method: 15–20 minutes
- Adding team members and permissions: 10–15 minutes, more with a larger team
- Installing the pixel: 15–30 minutes for simple platforms like Shopify; longer with custom websites needing developer involvement
- Building and syncing a product catalog: 30–60 minutes for a manual setup, less with direct platform integration
- Business verification: 1–7 days separately, occasionally longer during high-volume review periods
A basic, functional setup without e-commerce elements takes about 30–45 minutes of hands-on work. A complete setup with tracking, catalog integration, and a fully permissioned team typically takes a few hours spread across a day, with verification running in parallel in the background. Very few businesses genuinely need to treat this as a multi-day project if the required documents are ready beforehand.
Who Needs This?
Not every business needs it immediately, but most growing ones do. You likely need it if:
- You spend meaningfully on ads- Once monthly spend becomes significant, Meta’s systems increasingly expect assets to sit in this structure, and you’ll typically need it anyway for business verification and access to higher spending limits.
- You have more than one person working on your page or campaigns- Any team of two or more needs proper access controls rather than shared logins — sharing a single password among employees is both a security risk and technically against Meta’s own terms of service.
- You manage multiple brands, pages, or locations– Everything stays organized under one dashboard instead of juggling separate browser profiles or incognito windows just to switch between client accounts.
- You work with an agency or freelancer (like Digital Romans)- You can grant working access without surrendering ownership of your own assets — a genuinely common point of friction when businesses skip this step and later struggle to reclaim their page from a previous vendor.
- You run an e-commerce store- You’ll need it for product catalog integration, Shopify or WooCommerce syncing, and dynamic product ads that automatically retarget past visitors with items they viewed.
- You’re scaling your team. As you hire a dedicated social media manager, performance marketer, or content creator, clean onboarding and offboarding becomes genuinely important rather than optional housekeeping.
- You’re a solo creator or very small business just starting out — in this case, the simpler content tool alone may genuinely be enough until you grow into needing the extra structure. There’s no need to over-engineer things before you actually need the complexity.
A simple rule of thumb: if you can count your team on one hand and you’re managing a single page with light ad spend, the simpler tool might suffice for now. The moment any of that changes — a new hire, a second brand, an agency partnership — it’s worth making the switch rather than retrofitting structure onto a mess later.
Key Features
- Centralized asset management — Pages, ad accounts, Instagram, WhatsApp Business, catalogs, and pixels all organized in one dashboard rather than scattered across logins
- Granular permission levels — Full control, Partial access, and Advanced options, assignable per person and per individual asset
- Pixel and Conversions API — tracking code and server-side data connection that measures website actions and powers ad optimization and retargeting
- Product catalog and Commerce Manager — connects your inventory for dynamic ads and Shops, with CSV, API, or native Shopify/WooCommerce sync
- Partner sharing via Business ID — work with agencies using a business-to-business connection instead of adding individual freelancer emails one by one
- Security Center — two-factor authentication enforcement across your entire team, plus activity monitoring and backup admin options
- Business-level reporting — consolidated performance data across multiple pages and ad accounts in a single view
- Multi-ad-account support — manage several accounts, your own or a client’s, under one umbrella
- Custom and lookalike audiences — build retargeting and prospecting audiences from pixel data, customer lists, or page engagement history
- Business verification — a formal document-review process that unlocks higher spending limits, more advanced features, and generally smoother account behavior over time
Features and Benefits for Your Business
Beyond the raw feature list, here’s what these capabilities actually translate to for a real business.
Security and control. You decide exactly who touches billing, who only views reports, and who creates campaigns — revocable instantly if someone leaves or a vendor relationship ends badly. This single benefit alone resolves one of the most common headaches small businesses historically faced.
Professional credibility with partners. Granting proper, scoped access rather than sharing a password over WhatsApp is the standard any serious agency or freelancer will expect — and its absence is often a quiet red flag about how seriously a vendor actually operates.
Scalability without added complexity. Adding a tenth team member is no harder than adding the first — the structure scales with you rather than demanding a system overhaul once your team grows past a certain size.
Better ad performance through better data. Centralized tracking data means significantly more signal for optimization than ads run from an untracked personal account with no pixel, no catalog, and no history for Meta’s algorithm to learn from.
Continuity that survives personnel changes. Assets stay tied to the business itself, not any one person’s profile — provided you follow the admin practices covered later in this guide, particularly around maintaining multiple admins.
Cross-platform unification. Facebook, Instagram, WhatsApp Business, and Messenger can all be coordinated from one place, which matters increasingly as Indian consumers move fluidly between these channels during a single purchase journey — browsing on Instagram, asking questions on WhatsApp, and converting through a Facebook ad.
Audit trail and accountability. Activity logs at the account level become genuinely useful when troubleshooting what changed before a campaign’s performance shifted, or when resolving a dispute about who edited what.
Ongoing Management: Keeping Your Meta Presence Organized
Setup is only step one — day-to-day management is what actually determines whether this helps or just sits there unused after the initial configuration.
- Check access monthly and remove anyone no longer working with you — this is the single most skipped maintenance task we see.
- Use Business Suite for daily content — scheduling posts, replying to messages and comments across both platforms from one unified inbox.
- Monitor Ads Manager weekly for performance, budget pacing, and early signs of ad fatigue, like rising costs on the same creative that was performing well a month ago.
- Review security quarterly, especially after any team changes or when a contract with a freelancer ends.
- Keep your catalog updated — stale pricing or out-of-stock items directly hurts both ad performance and customer trust when someone clicks through to a product that’s no longer available.
- Maintain at least two admins at all times, specifically to avoid being locked out if one person leaves, loses access, or becomes unreachable.
- Document partner connections separately — a simple internal note of who’s connected and why — so your access list still makes sense six months later.
- Revisit permissions as the team grows — roles assigned when you had two people rarely fit well once you have eight.
Best Practices
- Never default to Full control. Reserve it for owners; scope everyone else to Partial access matching exactly what their role requires.
- Always use Request Access for client pages, never add them directly — doing so can actually limit the real owner’s own access to their own asset, creating unnecessary friction in the relationship.
- Install your pixel before you think you need it. Even pre-launch, early data collection improves optimization once campaigns actually start, since algorithms perform better with more historical signal to learn from.
- Use Partner sharing for agencies rather than adding individual freelancer emails one by one — cleaner, and the agency manages their own internal team’s permissions on their end without you tracking each person.
- Document your access list somewhere outside the platform itself, like a simple shared spreadsheet, so you always know who has what independent of Meta’s own interface.
- Set currency and time zone carefully — both are permanent once chosen, and getting either wrong means creating an entirely new account to fix it.
- Complete business verification early, even before urgently needing higher spending limits — it typically unlocks smoother behavior across the board, not just higher budgets.
- Train your team before granting access, not after. A short internal walkthrough prevents accidental changes to live campaigns or billing settings.
- Set up billing alerts where possible to avoid unexpected overspend, especially when multiple people can launch campaigns independently.
- Review Meta’s advertising policies periodically. Unintentional violations — using a restricted word in ad copy, for instance — are a common and entirely avoidable cause of account restrictions.
Challenges and Considerations
Based on patterns we regularly see with Indian clients, and widely reported by users elsewhere too:
Business verification delays- Document review can take anywhere from a day to over a week, and mismatched business details — name, address, or phone number not matching official records exactly — are the most common cause of rejection or extended review.
Former employee ownership issues- One of the most frequent real-world problems: an employee who originally set things up leaves the company, and their personal profile remains the only admin. Without a second admin in place, regaining control can become genuinely difficult and sometimes requires contacting Meta support directly, which can take real time to resolve.
Learning curve for new users- The interface has grown more complex over the years as features have been added, and first-time users often find navigating nested settings menus confusing — budgeting a short learning period, or getting setup help from someone experienced, is a reasonable expectation rather than a sign something’s wrong.
Spending limit restrictions- New accounts typically start with lower daily caps that increase gradually with a clean payment history and policy compliance — don’t plan to spend large budgets from day one on a brand-new account.
Permission errors during onboarding- Typos in email addresses and unaccepted invitations are common early hiccups. Double-check each invite and confirm it’s actually been accepted before assuming something is technically broken.
Policy flags- Unusual activity, rapid configuration changes, or policy violations can trigger temporary account reviews. These are usually resolved within 24–48 hours by responding promptly to any requested documentation, though complex cases occasionally take longer.
The “briefcase icon” quirk- Some users report their profile picture being replaced by a generic icon within the dashboard after certain account changes — a known, if sometimes confusing, display behavior that doesn’t necessarily indicate anything is actually wrong.
Multiple businesses, one structure question- Businesses running several distinct brands often aren’t sure whether to use one account with multiple Pages as assets, or entirely separate setups per brand. For most cases, one account with each brand as a separate Page and ad account is simpler to manage — separate structures make sense mainly when brands need completely independent billing, teams, or ownership.
Real-World Use Cases
A D2C fashion brand in Delhi connects their Shopify catalog, syncing products automatically so dynamic ads show relevant items to users who viewed them on the website — driving retargeting sales without manually updating ad creative for every new collection drop.
A marketing agency managing five clients uses Partner sharing to access each client’s assets via Request Access, keeping every client as the true owner of their Page and ad account while the agency team works within clearly scoped permissions — and can be cleanly removed if the relationship ends.
A local restaurant chain with multiple outlets manages separate location pages under one account, with a marketing manager holding full oversight and individual outlet staff holding limited access just for responding to reviews and messages, not touching ad budgets or campaign settings.
A B2B SaaS startup uses pixel and Conversions API tracking to measure demo sign-ups from awareness campaigns, feeding that data back into optimization to find more people likely to actually book a call rather than just click an ad.
A growing e-commerce seller hits the point where ad spend and team size outgrow the basic content tool, migrates to the full admin structure, and immediately gains the ability to add a part-time performance marketer with scoped, revocable access instead of sharing the owner’s personal login — resolving a security concern that had been nagging at the business for months.
A wellness brand running influencer collaborations grants individual creators limited access to boost their own collaborative posts through the brand’s ad account, without exposing billing or other campaign data to people outside the core team.
A multi-city coaching institute uses business asset groups to bundle each city’s page, ad account, and catalog together, assigning a regional manager to each group rather than managing permissions city by city — a structure that became necessary only after expanding past two locations.
How This Helps Your Business Grow
Properly configured, this structure contributes to growth in several concrete, measurable ways.
Better-tracked campaigns through pixel and Conversions API data generally produce more efficient ad spend over time, since optimization algorithms have more accurate signal about what’s actually converting rather than guessing based on surface-level engagement like likes or shares.
The ability to safely delegate work to specialists — agencies, freelancers, or in-house hires — means your marketing isn’t bottlenecked by one person’s bandwidth or availability, which directly affects how fast you can scale a campaign once you find one that’s actually working.
Centralized reporting makes it easier to spot what’s genuinely working across pages and campaigns, rather than piecing together scattered data from multiple disconnected accounts or relying on memory and screenshots.
The underlying security structure protects what is often a business’s most valuable digital asset — its advertising history, custom audience data, and brand pages — from being lost to account compromise, a departing employee, or a vendor relationship that ends poorly.
And perhaps most practically: proper catalog and pixel integration unlocks genuinely more advanced advertising formats — dynamic product ads, automated retargeting, lookalike audiences built from real customer data — simply not accessible running ads from an unstructured personal account with no tracking infrastructure behind it.
None of this happens automatically just by creating an account. It’s the combination of proper setup, sensible permissions, consistent day-to-day management, and following the best practices above that turns this from an admin chore into a genuine, compounding growth lever for an Indian business competing for attention on Meta’s platforms.
Conclusion
Setting this up properly is a one-time investment of a few hours that prevents months of access headaches, security risk, and tracking blind spots later. Whether you handle it yourself or bring in help, the structure you put in place now is what your entire Meta advertising operation will run on as you scale — and retrofitting good structure onto a messy setup later is always harder than building it right from the start.
If you’d rather have this fully handled — setup, pixel installation, catalog integration, and ongoing campaign management — the team at Digital Romans configures and manages these accounts for Indian businesses regularly and can get yours properly set up end-to-end.

